
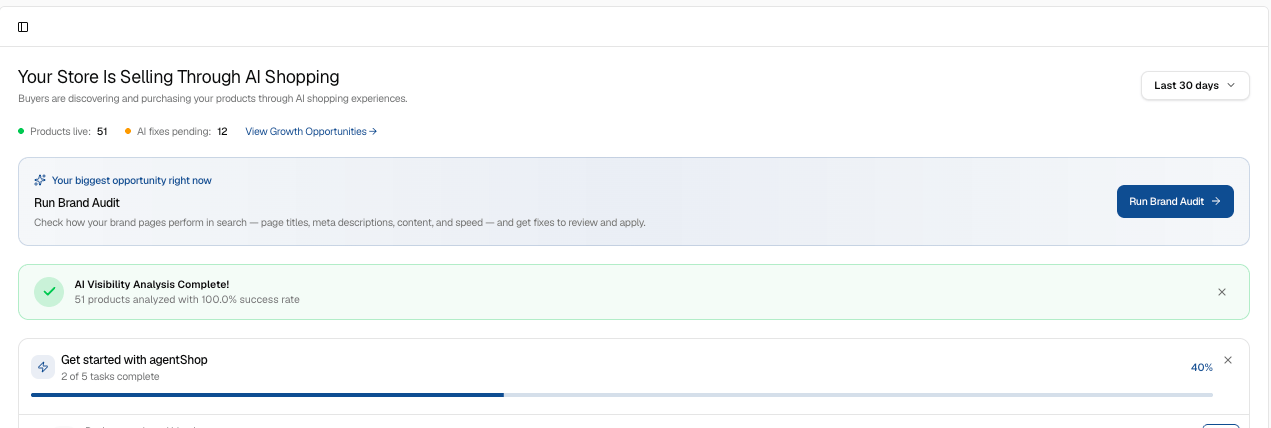
What a Brand Audit does: People now ask AI what to buy. The problem isn’t being listed — it’s being chosen. A Brand Audit scans how AI platforms actually see your store, scores where you’re getting overlooked, and hands you the specific fixes to close the gap. It runs in a few clicks and takes a couple of minutes. 1. Open your store. From the dashboard, click your store name (agentShop) in the top left to open its workspace. This is your home base — it shows whether your products are currently available to AI shopping and it’s where you launch a new audit. 2. Run the Brand Audit. Set your time window (Last 30 days works for most), then click Run Brand Audit. agentShop scans how AI platforms read your store across the dimensions that decide whether your products get recommended. Give it a moment to finish.
3. See how AI sees your store. The top panel shows how AI perceives your store right now. Scores read low until the scan fully populates — that’s your baseline. This is where AI overlooks you today, and the number you’re about to improve. 4. Check your Brand Identity. Open Brand Identity to see how AI describes your brand and who it thinks you sell to — your brand description and target audience, in AI’s own words. If that doesn’t match how you’d describe yourself, you’ve found your first gap. 5. Review your Competitive Position. Click Competitive Position to see which brands AI surfaces alongside or instead of you when shoppers ask for products like yours. Listed isn’t chosen — this shows you exactly who’s getting chosen in your place. 6. Look at your Brand Prompts. Open Brand Prompts to see the real questions shoppers ask AI in your category, and how your store shows up — or doesn’t — for each one. These are the prompts driving discovery, so this is where visibility is won or lost. 7. Open the full Brand Audit report. Click Brand Audit to open the complete report: your overall score plus the breakdown of what’s helping and hurting your visibility. Everything from here is about turning that score into an action list.
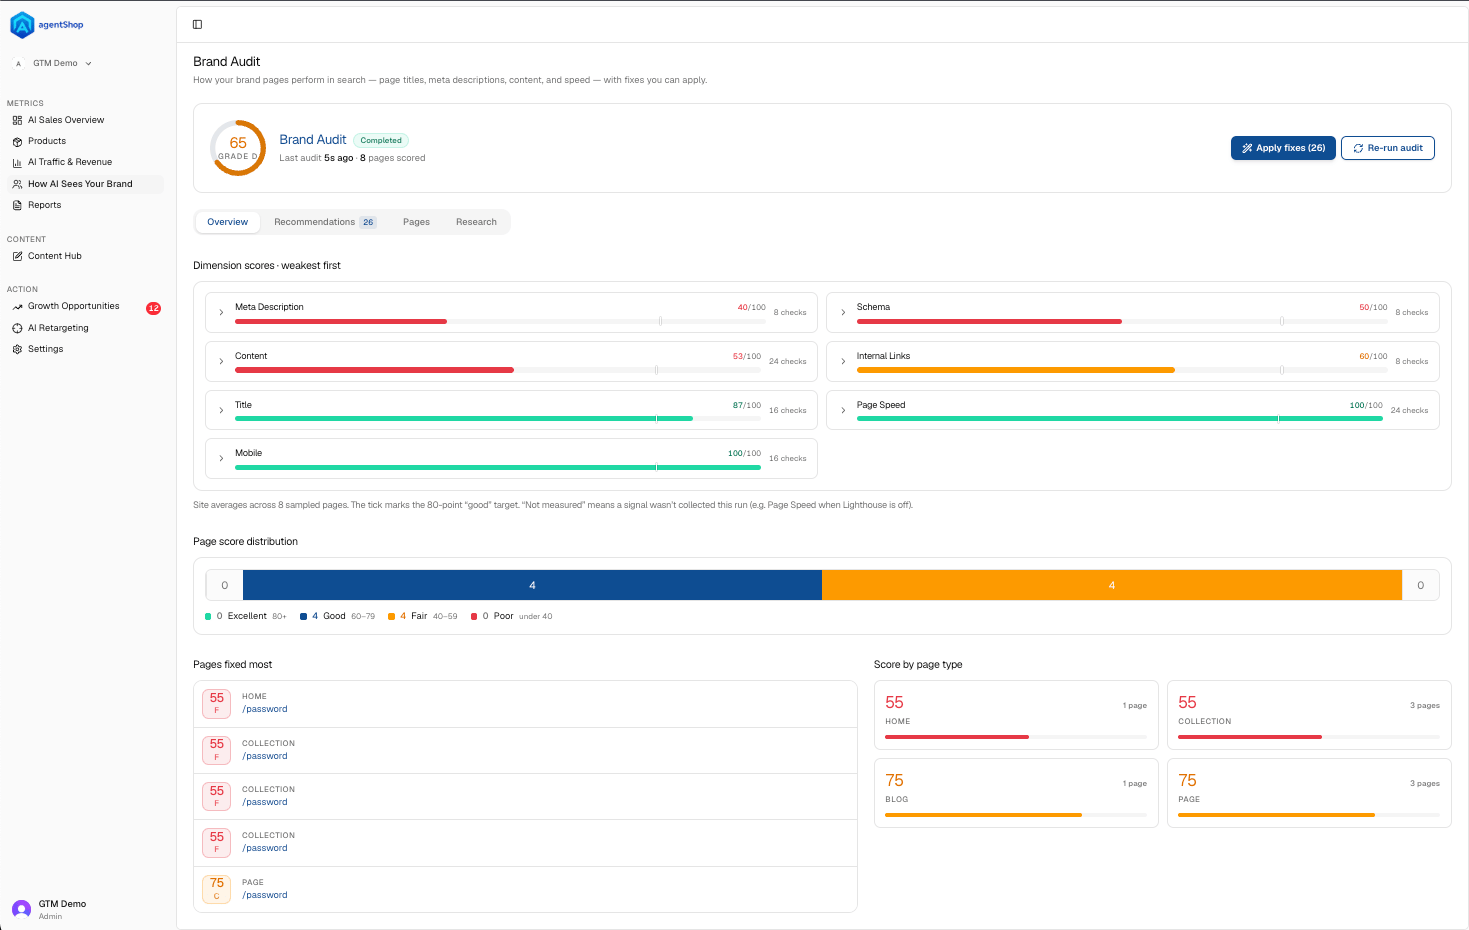
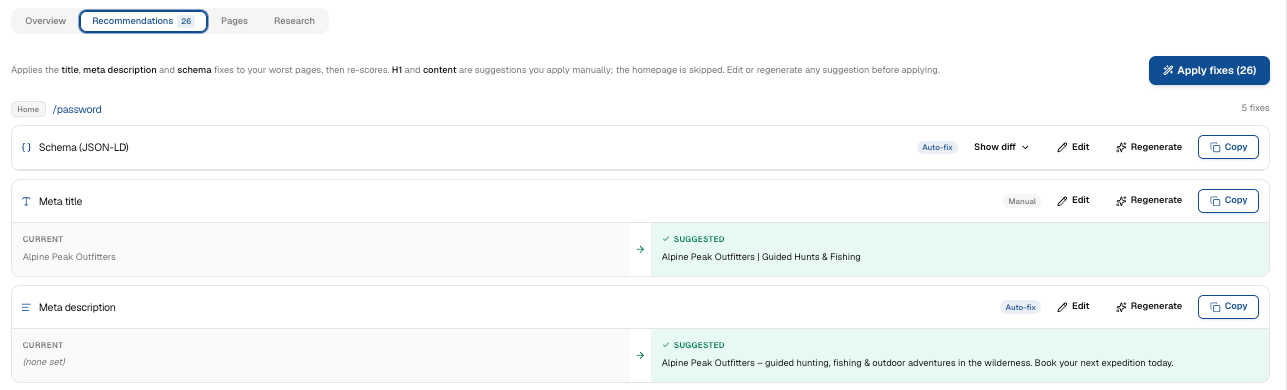
8. Start with the Overview. The Overview tab shows your dimension scores — things like Schema and Content — with the weakest first. Start at the top. That’s where a fix gives you the most lift. 9. Go through the Recommendations. The Recommendations tab lists the specific fixes, ranked by impact — the exact changes to your product data and content that move you from listed to chosen. This is your to-do list.
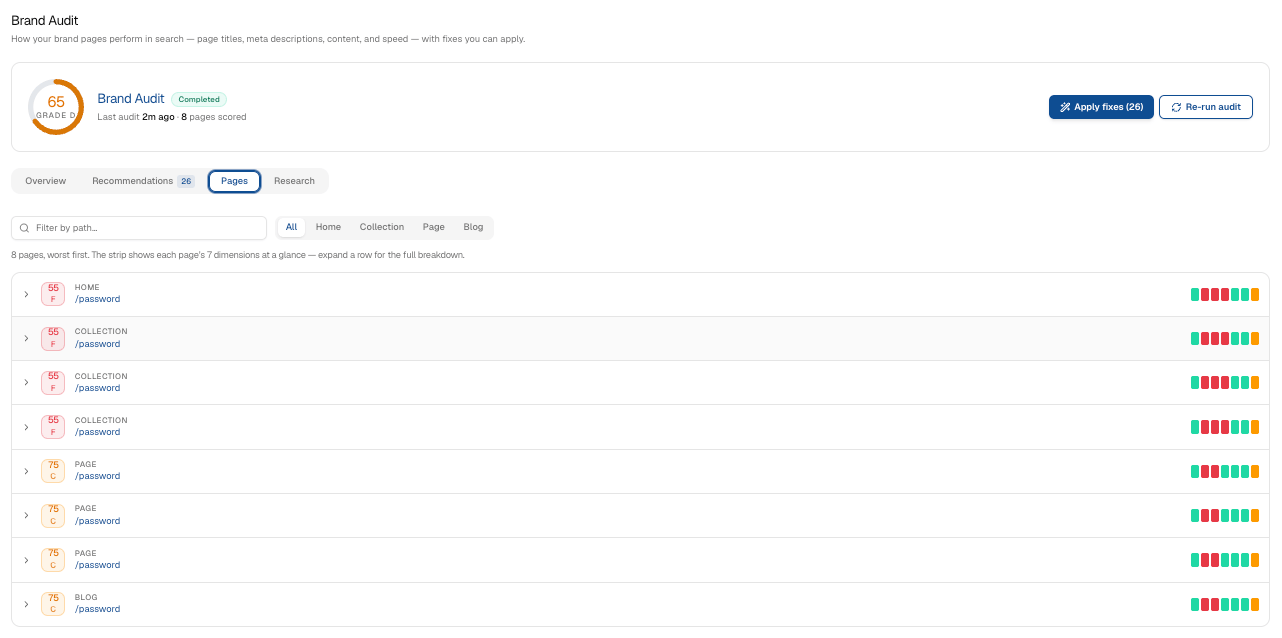
10. Review the Pages. The Pages tab breaks the fixes down page by page — title, meta description, and schema (JSON-LD) — each with its own score, so you can see which pages are dragging you down and why.
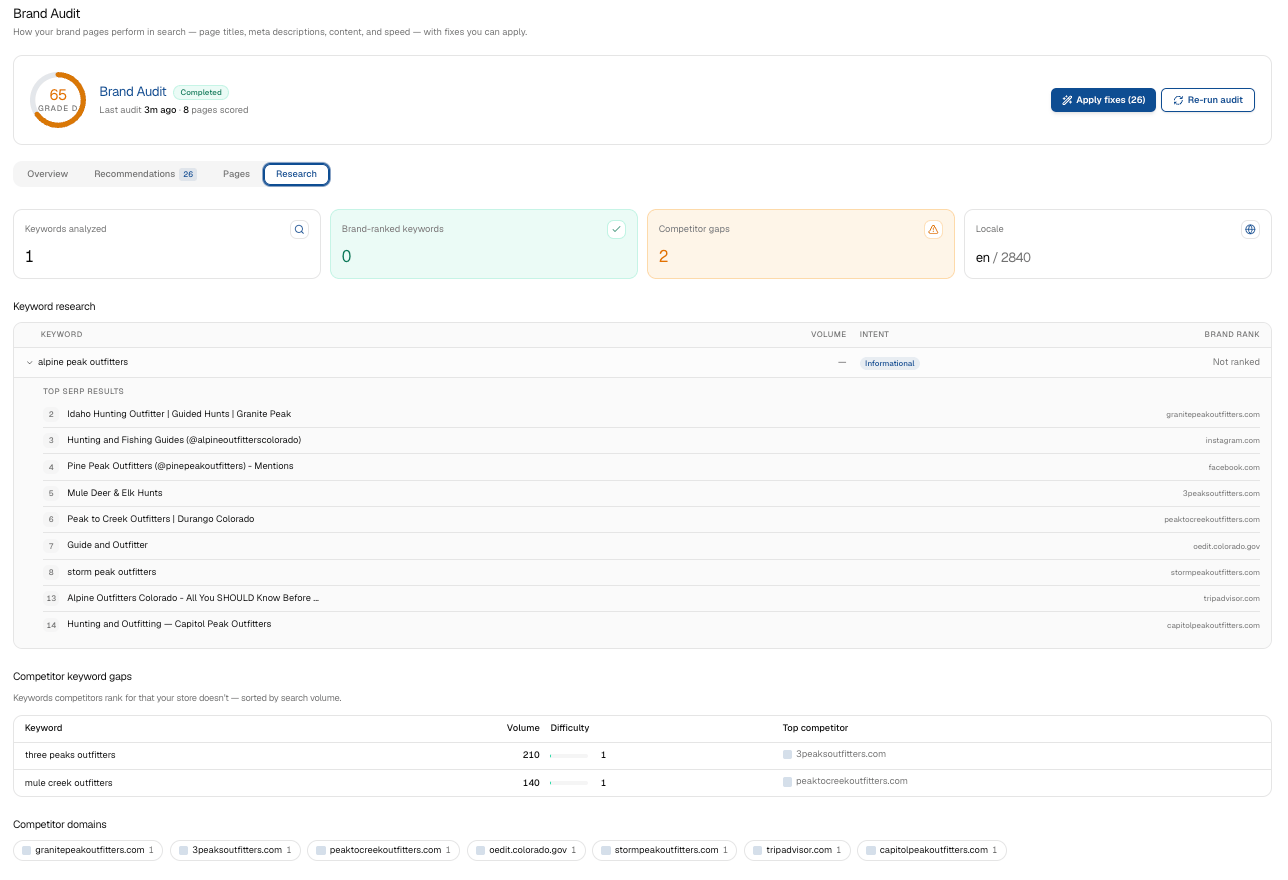
11. Check the Research. The Research tab shows the evidence behind each recommendation — the page tests and prompt results the audit ran. If you want to know why a fix is suggested, it’s here.
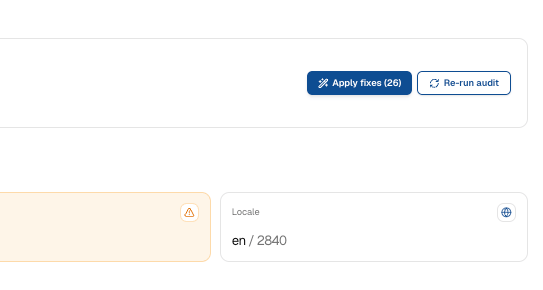
12. Apply the fixes. The audit’s fixes are saved automatically to your products and pages — there isn’t a single “Apply Fixes” button that pushes everything live. To publish them to your storefront, enable the “AgentShop SEO Injection” app embed once in your Shopify theme editor. This publishes structured-data, canonical, and social tags at the SEO layer, so your published scores start reflecting the fixes. Then re-run the audit to watch the score move.